
I remember as a child that my grandmother always put a slice of cheddar cheese on top of her warm apple pie and once the cheese got a little gooey, it was the most amazing taste. Over the years I too go the cheddar route over ice cream with my apple pie and recently decided to take it a step further.
After several mis-steps I finally made a cheddar cheese crust that is really wonderful. It seems that the trick was to toss the grated cheddar into the flour and coat it well before adding the shortening to the pastry and viola, it works! My daughter is an accomplished baker, she has been baking pies since the age of 5 and uses a variety of pie crust recipes depending on the filling, but I bake LOTS of pies during the summer for the farmers market and tend to use a very simple and easy recipe so that is what I worked with on the cheddar crust. I am sure if you have a preferred pie crust recipe you can experiment and find the best way to incorporate the cheese. The trick is to get the cheese to separate and evenly mix into the pastry so that you don’t have clumps of cheese in one area and no cheese in another. Here is how I do it! By the way, just leave out the cheese and this is a great, simple pie crust recipe that works every time.
Basic Pie Crust
Ingredients
- 2 C flour
- 2/3 C shortening
- 6-8 Tbs ice cold water
- Grated Cheddar Cheese

Directions
- Measure the flour into a bowl and stir in the grated cheese, making sure it gets coated with flour and mixes throughout the flour
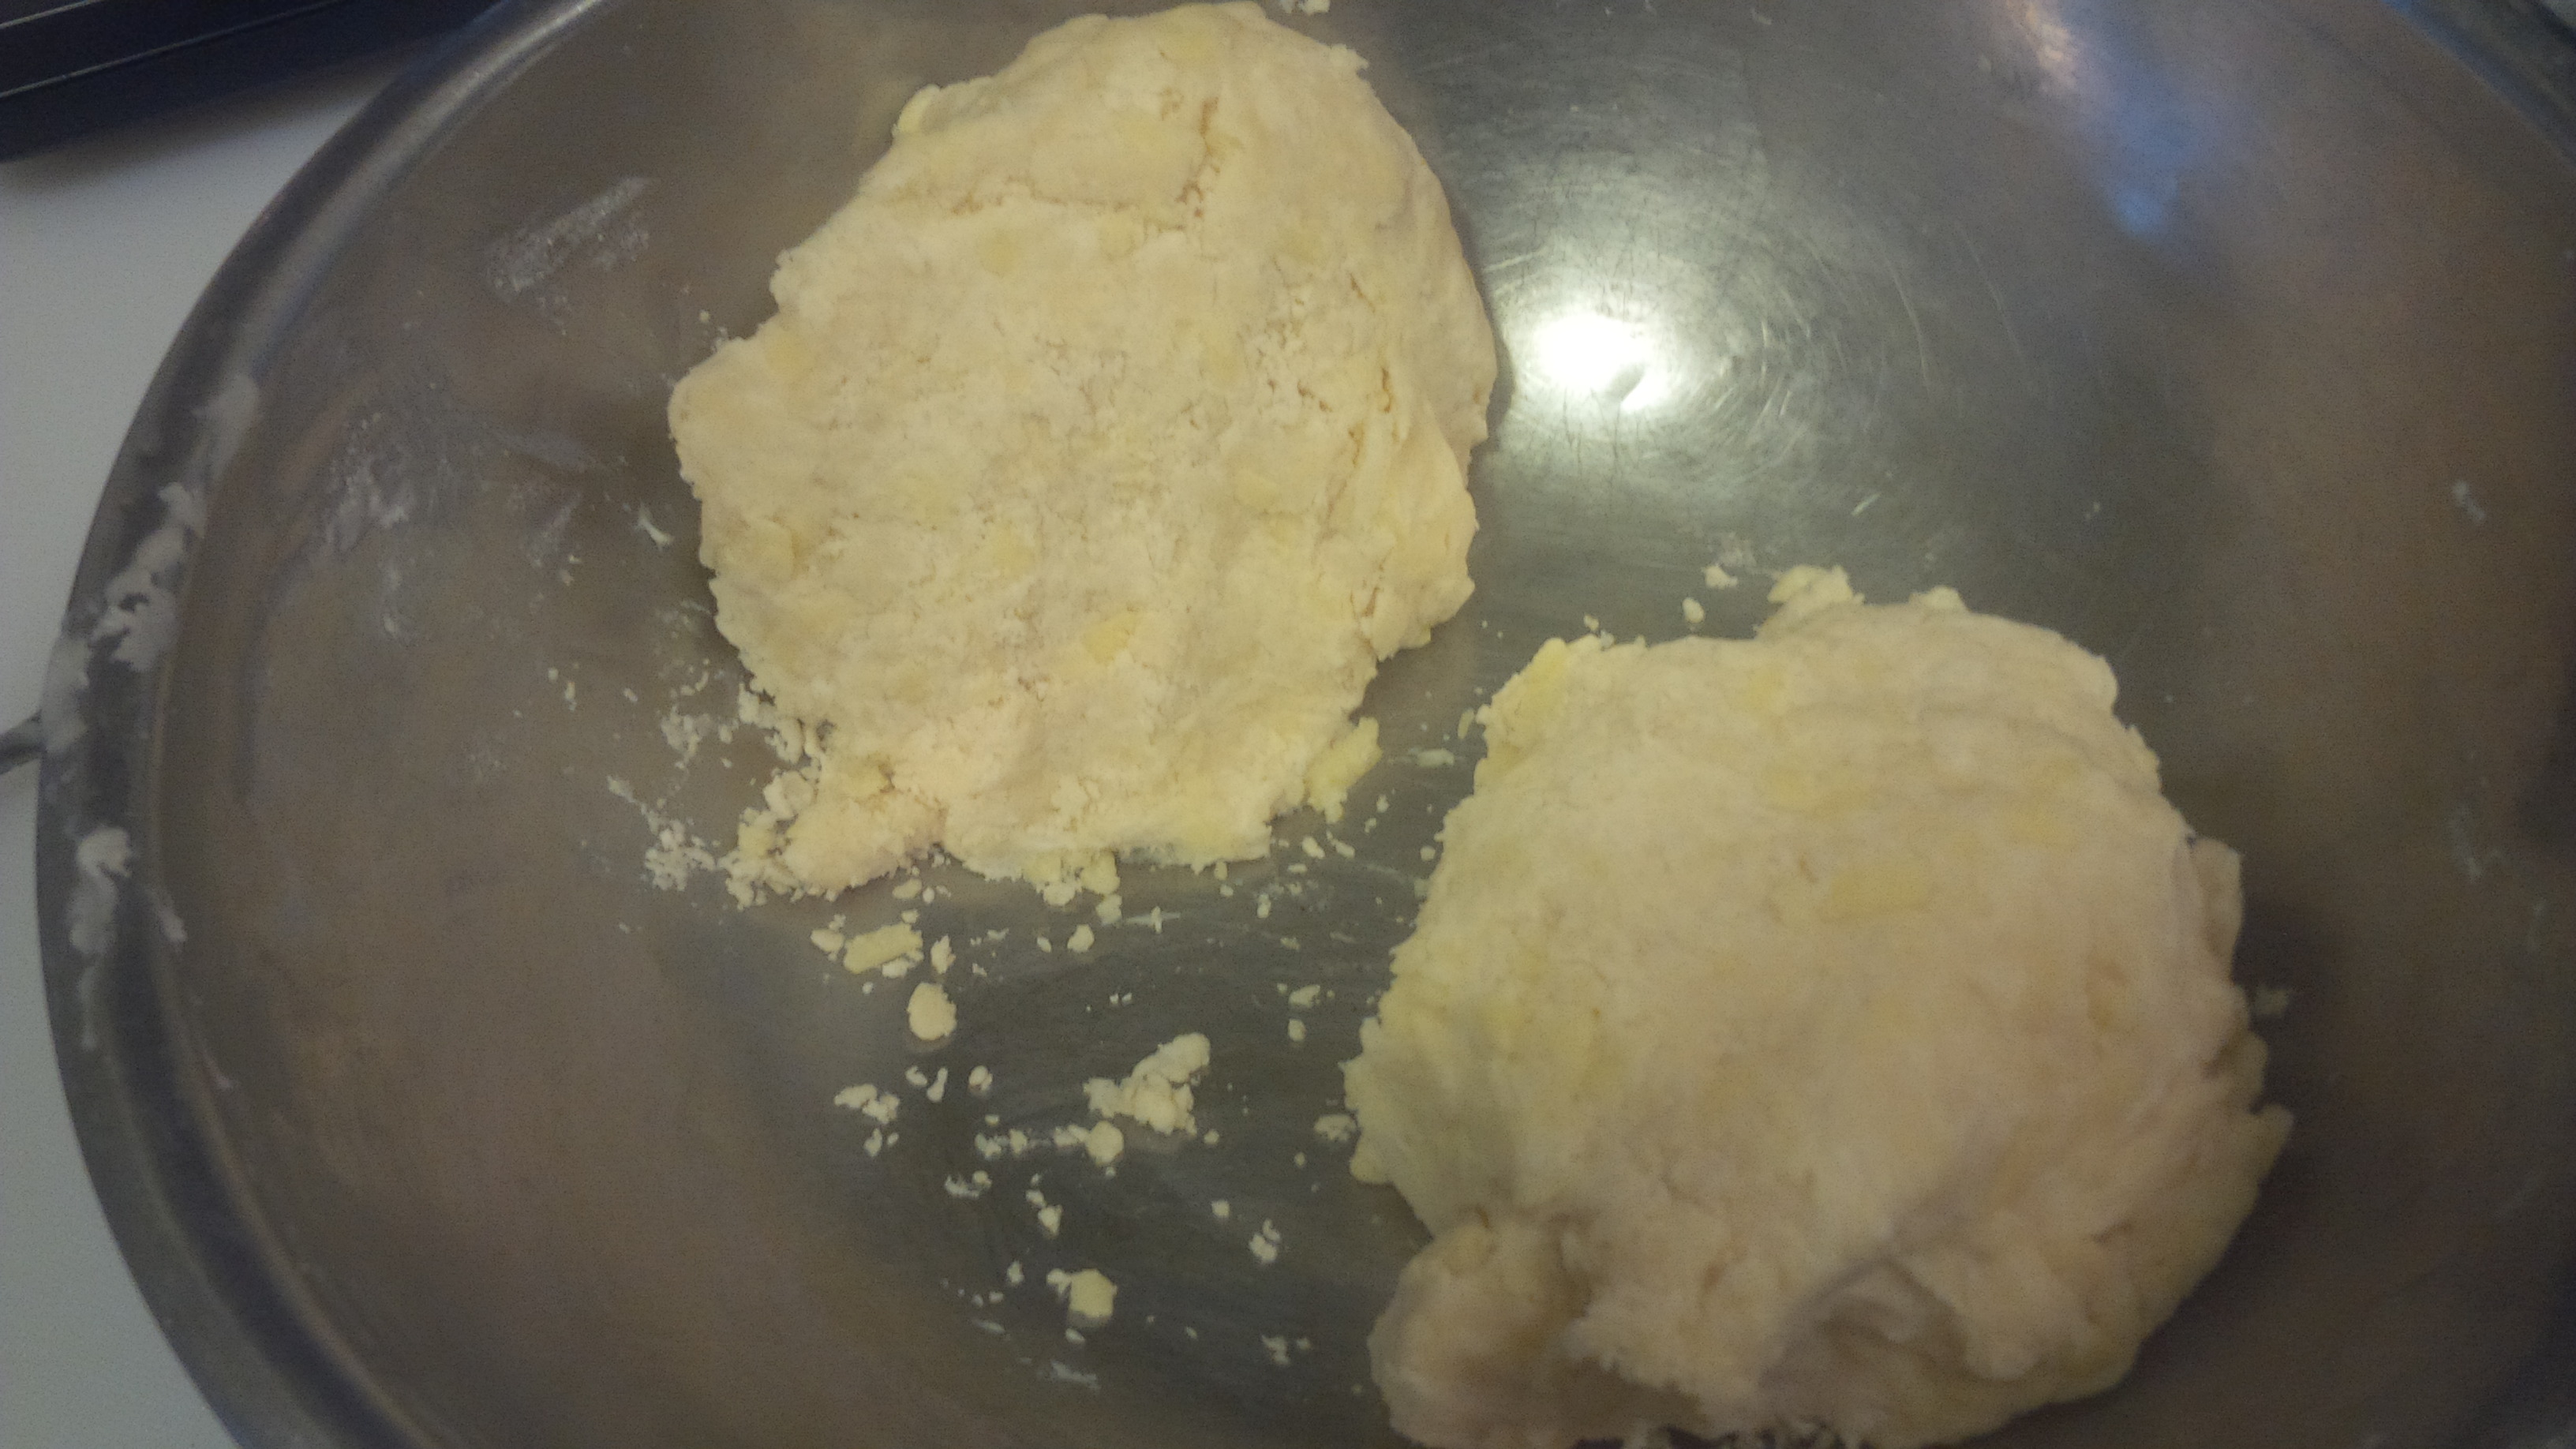
- Using a fork or a pastry blender, cut the shortening into the flour mixture until it resembles a coarse meal
- Add the water 2 Tbs at a time until the pastry begins to stick together and pull away from the sides of the bowl
- Divide the dough into 2 pieces, wrap in plastic wrap and let rest in the refrigerator for at least 30 minutes
- Roll the crust and place into pie plate, fill and use the second piece for the top crust

I used about a cup and a half of grated cheese for this crust, you can use more or less depending on your own tastes.

Stir the cheese into the flour so that it is coated in flour and you can see the individual pieces with no clumps of cheese anywhere in the mixture.

I have used a fork for years to incorporate the shortening into the flour, but occasionally do use a pastry blender or a food processor. Do what works best for you. The real issue is to remember that what you are trying to achieve is small clumps of flour and shortening combined along with plain flour in the bowl. The real trick to a nice flakey crust is those little bits of flour and shortening, as they bake, the shortening will liquify and leave the pastry creating small pockets of air, those pockets are what make the crust nice and flakey.
As you are adding the water, little by little pay attention to the pastry’s consistency. I have used from 5 to 10 Tbs of water depending on the environment. On very dry days I need more water and on humid days less, so use your best judgement on the amount of water needed each time you make the crust. You are looking for the mixture to stick together but not be too moist. Once you have added your water, separate the dough into 2 pieces.
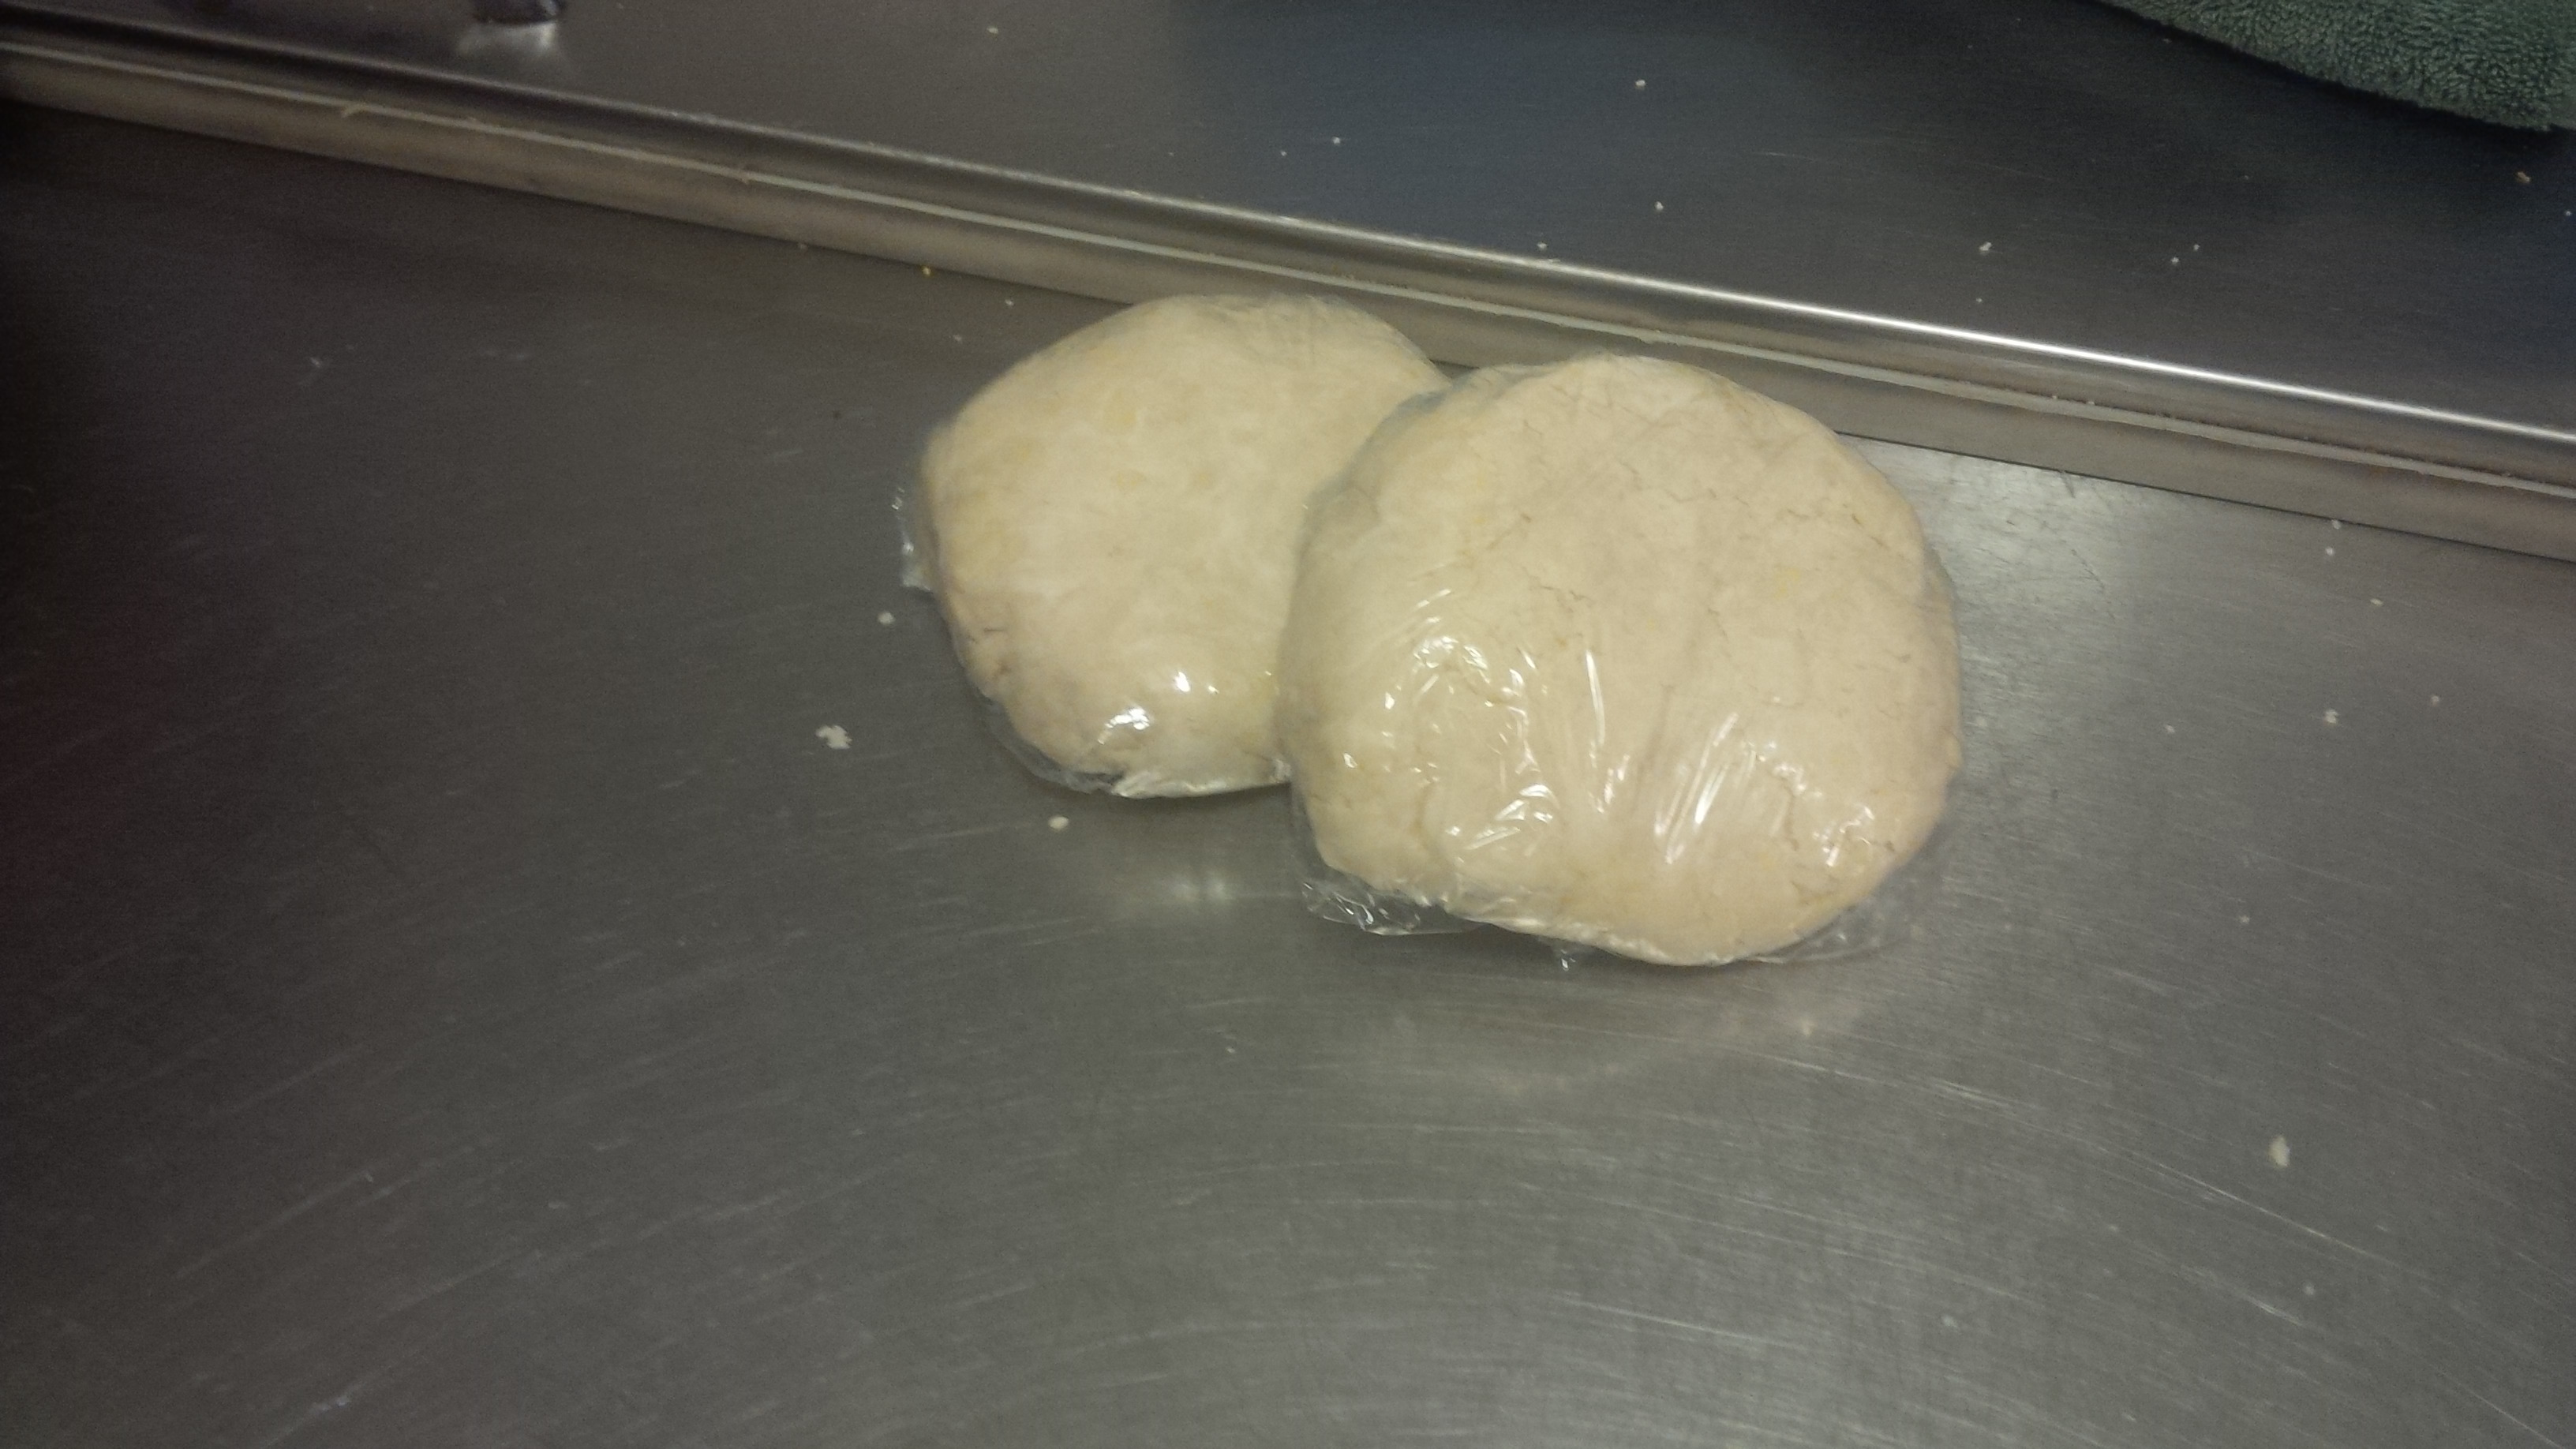
Wrap each section in plastic wrap and place in the fridge. I let the dough rest for at least 30 minutes and often make the crust the day before and let it sit over night. I wouldn’t recommend letting it sit around for days, but a day or day and a half won’t hurt it at all.

Roll the crust out to the approximate size you need, being careful not to overwork the dough. Too much rolling and handling will cause the little flour/shortening bits to be smashed and won’t leave them the correct size to work their magic in the oven causing you to end up with tough pie crust.

The easiest way to move your rolled crust into your pie plate is to roll it around the rolling pin so that you don’t stretch or tear the pastry.

Once you have the pie plate lined with the bottom crust, you are ready to prepare the filling! Easy stuff!
For the apple filling, I use a very simple classic recipe that came from my famiy.
Ingredients
- 7-8 apples peeled, cored and sliced
- 1 C sugar
- 3 Tbs flour
- 1 Tbs Cinnamon
- The zest of half a lemon or a sprinkle of lemon juice
- Dollops of real butter
Directions
- Mix the apples, sugar, flour, cinnamon and lemon together and place into bottom crust.
- Place the butter around on top of the apple mixture
- Put the top crust in place and bake at 450F for 10 minutes, reduce oven temp to 350F and bake for 45 minutes more or until the top crust is golden

In this pie, I used half granny smith apples and half macintosh apples, just to have the flavour and texture balance, use whatever apples you prefer. I use an apple corer/peeler/slicer that I got from Lee Valley Tools (look them up online, they rock!) because I generally make 7 or 8 apple pies at a time and it reduces the time I spend working with each apple. If you are doing this by hand, I would suggest you use one of those handy apple slicer/corer things that removes the core and slices the apple into 8 sections, then peel each section and slice each piece a little thinner. I have a couple of those that I picked up and they work just great.

Once the apples are ready, I toss them with some lemon juice to keep them from browning up and give them a sharper flavour.

I generally just toss the sugar, flour and cinnamon into the bowl and stir it all up then scrap it all into the bottom crust.

Today’s pie got a very plain top crust, but you can thinly slice the pastry and weave a lattice crust or use small cookie/pie cutters to make a design on the crust. If you go the design route, mix a small amount of water into an egg white and use it to glue the decorative crust onto the main crust and then brush over the entire pastry to give it a nice glossy appearance.

You are now ready to enjoy this delicious pie!

OMG!!! Sounds AMAZING!!!